All posts by annwood

make a paper boat : a free tutorial

*This post contains an affiliate link

paper boat template image

Some projects are most satisfying to work on in batches. These paper boats are like that. They are quick and easy and you can make a bunch at once without much extra effort. Plus the finished group is very satisfying.  You probably already have most of the materials you need and you could easily be hanging a respectable fleet by the end of the day, who doesn’t want that?

download the boat template


you will also need:

  • heavy paper (I’m using water color paper) or light cardboard (like poster board)
  • a bamboo skewer
  • paper for the sail
  • elmer’s glue
  • gluestick
  • embroidery thread or light string (like baker’s twine)
  • buttons
  • paints, brushes  and/or collage materials
  • exacto knife
  • clothespins or paperclips for clamping

*Please read through all the steps before beginning.

*Also note I included some simple directions on the sail template for your convenience  but the directions below include more details and options.

1.  Cut out the boat and mast support templates and trace them onto light cardboard or a heavy weight paper. I’m Using water color paper (140 pound hot press is my favorite). Optional – paint both sides. I almost always paint a wash of water color on both sides of the boat and mast support.

2. Place the template back on the boat and poke your pencil through where the score lines intersect. Mark with a dot. Remove the template and draw on the score lines. Draw the score lines on the mast support too and mark an X on the center of the top section.

3. Use the back of an x-acto knife to score the lines on the boat and  mast support.

4. Gently fold the boat and mast support at the score lines.

5. Add glue to the last section of the mast support, fold it into a triangle and glue the top section over it.

6. Clamp with paper clip or clothespins while it dries.

make a paper boat

7. While your mast support dries paint or collage or draw on your boat. I did all three. I used a wash of watercolor, some pencil lines and a little collage. If you’re doing lots of collage I recommend using nori paste instead of blue stick . It is awesome. You can find it here. * FYI – this is an affiliate link – meaning I get a small commission if you purchase through the link.

8. Apply glue to the bow as indicated on the template.

9. Fold the boat together at the front and clamp with clothespins or paper clips while the glue dries.  Alternatively – you can skip the glue, bring the front sides together and stitch on the sewing machine close to the edge.

how to make a paper ship

10. Fold the center back ( A on the template) and apply glue to the top.

11. Bend up tab B – covering the top of tab A and matching the top edges. Apply glue and bend up tab C covering the top of tab B and matching the top edges. Clamp and let dry. Alternatively – skip the glue and attach the three layers with a stitch and a button (step 16 below).

easy paper boat project

Read More

a paper ship installation and other notes from the forest

paper boats in a basket

paper boats in a basket

It was a pretty cozy situation, hanging out by the fire watching paper vessels turn in the breeze. And that’s what I wanted to make. A cozy situation, a daydreaming place for anybody who chose to partake. A situation I think Mr. Roger’s would approve of. That is my barometer for lots of things – “what would Mr. Rogers think of this? What would Mr. Rogers do about this?” It never steers me wrong.

paper ships hung in a library(photo by awesome @bailey.b.raha)

And the world needs more paper ships. This is my firm belief. I made lots of paper ships and boats over the last couple months to bring to the Squam Art Retreat. I hung an installation of them in the sweet little library, it’s my favorite room at the camp.

paper ship and boat installation

The smaller boats are quick and easy to make and I’ve made you a tutorial and templates for making your own. You can find that right here. And I’m teaching the larger ships in a workshop in October.

squam lake

squam art tote bag

I love the retreat and I love that giant forest and I made the artwork for the tote bag this year! So happy with how it turned out.

tiny rag doll under a mushroom

embroidered felt doll jacket


And it was an exceptionally good year for mushrooms at Squam Lake. Big colorful mushrooms kept popping up all over the place. This one was just right for sheltering a tiny lady. You can find the free pattern for her little jacket and hat right here. Bundle up somebody little. It comes in Mr. socks size too.

mr. socks dolls

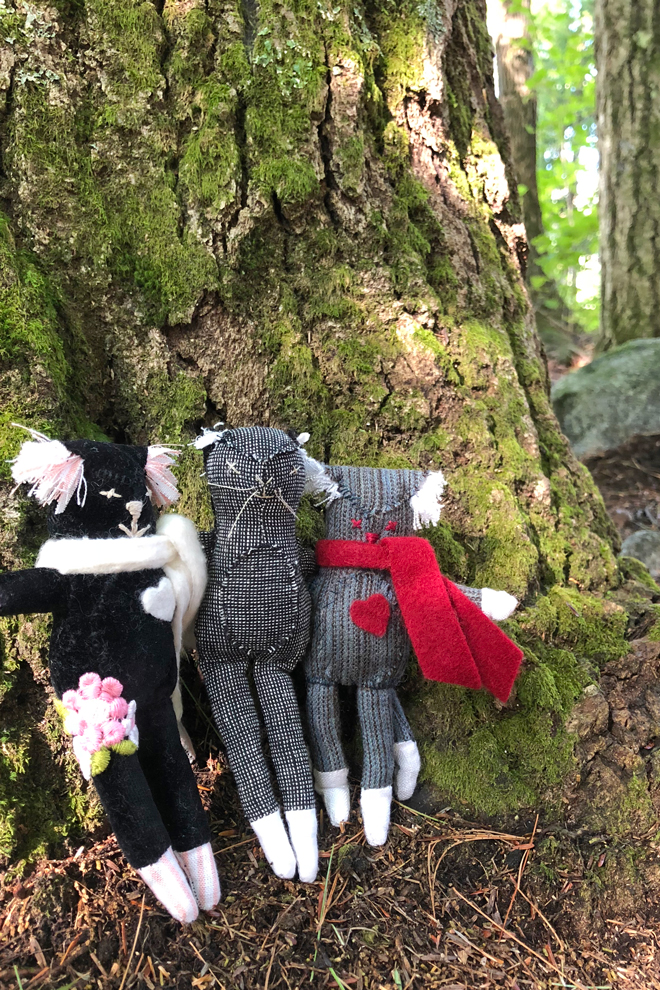
Speaking of that mischievous cat I ran into some of the Socks cousin’s on a path, it was a happy meeting for everybody. You just never know who you might meet. As usual I was so busy being in the forest I hardly took any photos but you can find more images from the Squam Art Retreat right here.

owl sewing pattern booklet

In other news : The Owl Booklet starts shipping today! It turned out even better than I expected and I’m excited for you to get it. Thanks so much to everybody who pre-ordered. The first printing is just about sold out and there are more on the way.

owl sewing pattern booklet

applique bat : a free template and tutorial – how to make really pointy points

bat applique tutorial

making sharp applique points

It’s like boiling eggs, there are tons of different methods for getting sharp applique points. I’ve been messing around with a bat shape and working out the point situation. And I made you a template and a little tutorial because I’m nice like that.

Bats sure are pointy, they are like the applique sharp point olympics. Before we dive into that I want to show you a couple other ideas that I think would make cool embroidery or applique projects.  I’m especially exited to try that green house.  I think it will be my first spoonflower print. I’ve been wanting to try that for ages. The details of the house and little cat etc. could be embroidered. What do you think?

download the bat template

I think it helps to read through all the steps once before beginning.  I’ll get you started with the points and curves today and be back on Sunday with more.  The points took some practice for me but once I got going it want faster than I expected.  Also I mostly laid it flat to take photos but found it easier to do the points especially with it draped over my knee.

1. Trace the stitch line on the template onto freezer paper.

2. Place the pattern on  a piece of folded fabric. Use a cotton that’s light weight and not ravely.  Tip: Use some spray starch to make the fabric a bit stiff. It helps a lot. You can even make your own spray starch if you like.

iron bat template to fabric

3. I cut the template in half before placing it shiny side down on the right side of the cut out fabric. Cutting it made it easier to match up all those points and the center can absorb any margin of error rather than the edges or points. Iron it to the fabric.  I pinned it to a piece of vintage linen. It conveniently covers a couple spots and holes. You’ll want to use a ton of pins.

4. I’m beginning on one of the long curves. Make a small knot at the end of the thread and insert your needle from underneath. Come out at the edge of the freezer paper. You will need to make some little clips along the curve. Clip as you go in little sections. Don’t do all the clipping first. Clip to just before the edge of the paper.  Don’t clip too close to the points – leave about an inch.

5. Use your needle and finger to fold the edge under and begin stitching with very tiny stitches.

6. Notice I have left about an inch of unclipped fabric before the point. Stop stitching here.

7. Tuck the fabric under the side of the point you are working on and stitch, stop about 1/4 inch before the point.

8. Fold the tip under as shown – with the folded edge flat.

9. Make a couple tiny stitches at the point.

how to make a very sharp an applique point

10. For the next step I found it way easier to pick the work up off the table. Take out the pin and use your finger or the needle to fold the other side of the point down and under. Stitch down the side of the point, put the pin back in and then clip in the curve to continue towards the next point.

11.  When all your points are stitched clip on each side of the head.

12. Turn the edge of the wing under and stitch. Leave the head unstitched.  Clip on each side of the bottom of the bat body too – stitch on each side of the wing and tuck in the edges around the little end of the body and stitch.

13. Cut two little teardrop shapes for ears.

14. Tuck one side of the head under.

15. Fold one of the ear shapes and tuck it in on one side of the head.  Stitch it in place. Repeat for the other side. Finally tuck in the edge at the top of the head and stitch.

There will be a part 2 soon for the embroidered and applique details. If you give the bat a try please use tag #annwoodpattern on instagram – I’d love to see!

bat applique tutorial

click here for part 2

experiments in paper and lovely old handwork

ships made from antique paper

One of the benefits of being prolific is the mistakes and failures don’t phase you. They are just information. My process is deeply iterative. I try and fail and try again, adjusting and experimenting endlessly. I love being right in the middle of that process and it can go on for years.

ships made from antique paper

The ships are like that, the paper mache ships and lately paper ships. Endless experiments and all sorts of failures and all sorts of discoveries. Discoveries and innovations that can only come (I think) from that kind of process.

antique french paper

I’ve been playing with paper I found in France. I went to tons of spectacular flea markets with French General. My main objective was finding paper for the ship class this October (update -this workshop was in 2019).  These antique booklets are ideal and I got lots of them – the colors and quality of the paper are perfect. Totally worth the schlepping. And Kaari (French General) found wonderful old letters, ghost messages traveling time.

scrap of antique french wallpaper

This antique wallpaper and these gorgeous old pattern tracings were French flea market finds too.  I’m thinking of making ships with the tracings. And maybe framing a couple. The wallpaper I love just as it is.

antique french pattern tracings

My other paper project involves making lots and lots of smaller paper ship and boat experiments. I’m going to hang them as in installation later this year, more on that soon. It’s daydreamy work, I do my best thinking when my hands are busy.

boats mad from antique paper on my work table

And I’m making a ton of them so I feel improvisational and uninhibited about trying stuff. It’s a “yes and” unedited process, one thing does lead to another if you let it. I’ve been working on them every day for a while and like the cardboard horse project years ago the growing fleet is surprising me.  I love looking at them. That was my original impetus for making the paper mache ships – to live with them, to look at them, it was a thing I wanted in the world. There is a full tutorial for the small paper boats coming soon (early September- ish).  They are fast, easy and magic so be on the lookout for interesting paper.

And old linen:

My mother always collected fabric for me, even when I didn’t know I needed it. And apparently she still is, with perfect timing. My sister Catherine sent me this bundle of hand stitched linens she found in our Mom’s things, mostly collected at the flea markets she haunted almost every weekend. They are exquisite.

They even smell good, they smell like they should. I’m keeping almost all of them in tact, making pillow covers, stuff like that. So much beautiful handwork. There are a couple with a lot of damage I’ll make needle books with and incorporate into some applique experiments.

hand stitched beetles and mushroom

traveling stitch experiments, little paint boxes and something to read

slow stitch experiments

slow stitch experiments

The trick is to not have a plan, choose a scrap of fabric and then choose another, a “yes and” sort of process, just see where it goes. Maybe it goes nowhere at all. It doesn’t matter. I like to take these little experiments with me, it’s good road sewing, gentle and meandering summer sewing. It’s also easy to pick up when I don’t really feel like doing anything at all but not doing anything has become awkward… This engages my curiosity very quickly and gets my wheels turning again.

summer stitch experiments

Some of the experiments will become amulets and I think some may be part of a needle book. I can’t stop making needle books. And I can’t believe I didn’t make one for myself until this year. It’s so handy, always ready to go with everything I need in it. Plus the aesthetic appeal, it feels good in my hand and I love to look at it. Have you made one? Here are some more from the workshops in France.

I’m making a bigger version for traveling with larger projects. I used a piece of printer paper as a template for the page I’m working on – adding 1/4 inch seam allowance.

book made from fabric scraps

book made from fabric scraps

It’s ideal for owl and songbird wings, pinning all the little parts to a page. And maybe I need one for my paint brushes and pencils too.

water color travel sets

*FYI – some of the links below are affiliate links – meaning I get a small commission if you purchase through the link.

I’ve held onto my daily painting/drawing/collage habit (it’s mostly painting). Today makes 214 consecutive days. It’s firmly engrained in my routine and still a huge pain in the a** some times. Having a plan for making them while traveling has helped and there are a couple little tools that made a difference. Champagne cocktails did not help (I was pretty much done when the champagne showed up though). I bring a little rag for wiping brushes and a small pad of 140 pound hot pressed paper. And lately I put a little mustard jar in my bag when I go – for water and I can mix color in the little lid.

travel water color set

The pocket water color box is awesome. Historically water color is not my favorite, not by itself anyway. But I also don’t like traveling with lots of tubes of acrylic. So I bring a couple basic acrylics and mix them with the water colors. The box came with a little brush that you can put water in the barrel of. I thought this was ridiculous and gimmicky and almost didn’t try it. It is so good. The water is easy to control and the quality of the brush is excellent. I just ordered a set with different sizes here. And you can get the rectangle watercolor box here for about $12 bucks. I paid almost $30…. I also bought a little round stackable box in Toulouse.  I couldn’t resist the stacked circles. You can find it here.

painting of the arc de triomphe

Having a plan for the bad times is the most important thing. And accepting them. The strength of the habit helps in those times. It helps a lot. It helped in the airport in Paris after flying overnight. I was unspeakably tired and it was unspeakably hot. Being intrigued by the new little box of colors and the fancy water brush helped too. A little novelty in the mix never hurts.

melancholy evening pool

I’ll leave you with the annual melancholy pool photo, a couple questions and a book recommendation.

Questions:

How do you feel about embroidery and applique patterns? I’ve had some ideas swirling around for awhile, bats, houses, botanical designs. I’m thinking of putting together some patterns and kits. What do you think? Leave a comment below please.

And the book:

I just finished The Writing Life by  Annie Dillard (this is an affiliate link too). Magnificent. It’s shockingly beautiful and I didn’t want it to end. Now I’m reading a Room Of One’s Own. What are you reading? What’s on your summer book list?  Please leave a comment if you feel like sharing.


ann wood painting

Hamish Bowles’ Paris Apartment

PS- There will be lots of new little paintings in the shop on Tuesday 8/6 – noonish – NY time.  If you are on the list for new artwork you will get an email when they are up. If you aren’t sure if you’re on the list send me a message and I’ll check for you.

flea market report (french edition) and a glorious chunk of nothing

antique textiles and paper found in france

In the corner of a sweltering hot barn jammed with mountains of dusty ancient things there was a little box of crumpled tissue. First a little silver fork pokes out. Then a tiny china lid that might belong to a teapot.

box of antique miniatures found in france

A shell thin glass vase that is somehow not broken is floating in the tissue too. I stop looking because I already know I need it and the rest should be discovered slowly and savored, each thing emerging. A tiny sterling candlestick and then unbelievably it’s mate, miniature binoculars, and the lid does belong to a teapot, the little set is complete and even has a platter. Old and wonderful. Everything about it is magic and sweet and melancholy and lonesome.

daily painting in a french chateau

Vacations are not my thing. And technically this is not a vacation, I am in France to teach workshops with French General. I brought lots of projects to work on too, things to sew, writing projects, all sorts of fun things. But I did nothing. Almost nothing. My brain refused to participate. I did more of nothing than I ever have in my life. 3 weeks of nothing. Plus it was 105 degrees, making nothing the only reasonable choice anyway.

cherrie tree in the south of france

Glorious nothing, swimming and cherries from a tree for breakfast, loads of coffee and wine, fantastic cheese and bread. Feeling supremely happy wandering brocantes and vide greniers eating a jambon beurre and finding treasures. Mostly things for making things. Loads of that. And Edwardian garments and antique paper for the October workshops in LA.

antique textiles and paper found in france

lace scraps

Checkout some highlights from the France workshops and wanderings below. And if you’d like to spend time with me in France next summer signups will be open soon. Send me a message with France 2020 as the subject if you’d like more info.

needle book workshop in france

ps – have you made a needle book?  Find the tutorial here. The exquisite book above was made here in the workshop by Petra.

antique fabric scrap bundles

textile seed pods

I’m headed home tomorrow and I felt my brain come back on line today. Sad to go but ready to work and think and experiment. Ready to dive into the busyness of finishing sewing patterns, preparing for the next 3 workshops and something special for September involving old paper and the forest.

tiny rag doll picnic

And Summer is for making tiny dolls and outfitting the little ladies with summer hats and dresses and miss matched china for lawn picnics. I’ve put the miss thistle society patterns and tutorials all in one place for you and  I’d love to see what you make – use #annwoodpattern and #missthistlesociety on instagram.