Besides being customarily fired up by spring I’m getting ready to move again this summer. It’s a tiny move – upstairs in the same building but still – all the packing of all the things… Again (update – this is in the past – I moved in 2021 and it’s great). On the up side it’s going to be the sunniest and biggest place I’ve ever lived in and I’m pretty excited about that. My plants are too. And I get to keep the tiny garden.
Last year was my rookie garden year. I got a late start (after moving in mid June) and weeks in a hurricane dropped a huge tree on it. Many lessons were learned though and I’m excited about getting the full season this year. I find growing anything super exciting. Both of these little projects are in my plans:
1. Herb markers – a super sweet and simple idea from the always inspring august wren.
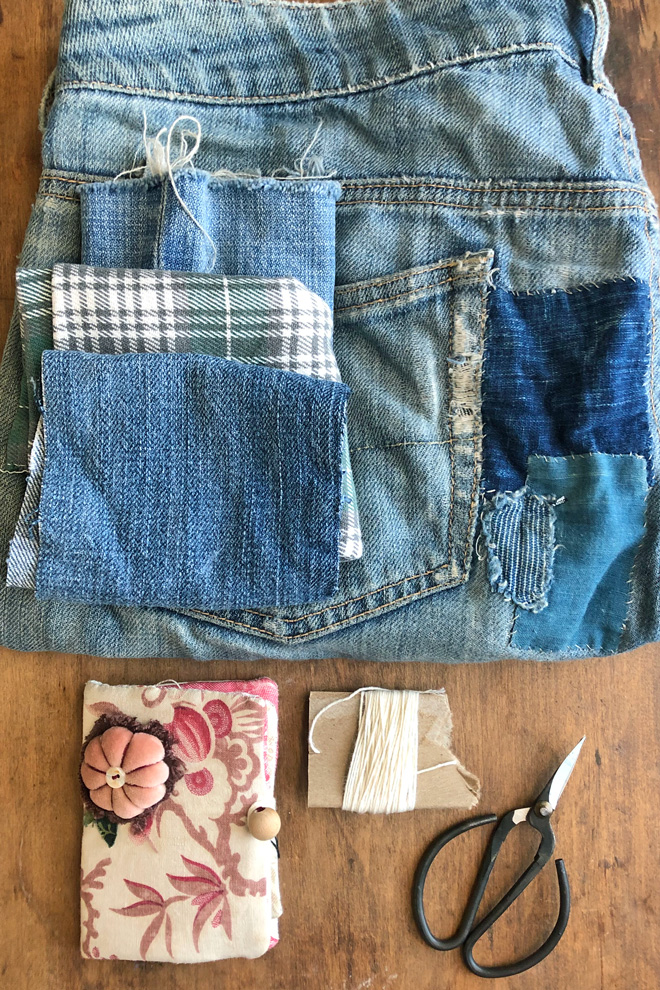
2. Make a harvest/ foraging apron – find a diy here. I have to make it. It’s illegal to have a garden in Connecticut without one.
And of course new, upstairs me will be extremely tidy and perfectly organized at all times. I’ve got a couple projects planned in the cleaning and organizing department that involve using stuff I already have:
3. Cleaning cloths – I’m using a towel I’ve been hauling around for decades and an old sweatshirt combined with cotton and linen scraps. Find a sewing tutorial here.
4. I love this scrap rug idea but I’m not feeling rug size ambition about it. I feel more trivet size ambition about it. It would also make an awesome bag. Again though I think I’ll test drive it at a trivet or place mat size. Find the diy here.
5. You know I love a good smell. These sachets are simple and easy and I love the aesthetic choices made here. The free chicken sewing pattern would also make a great sachet. I’m going to grow some lemon verbena and dry it for filling them. Lemon verbena sachets will be great in upstairs me’s perfectly organized closet.
PS – bonus idea :
I don’t know why this reusable coffee filter idea has never occurred to me before, especially in coffee filter emergencies. So easy.
What spring ideas and projects are you fired up about? Have you got a favorite spring soup?
Let us know in the comments please.