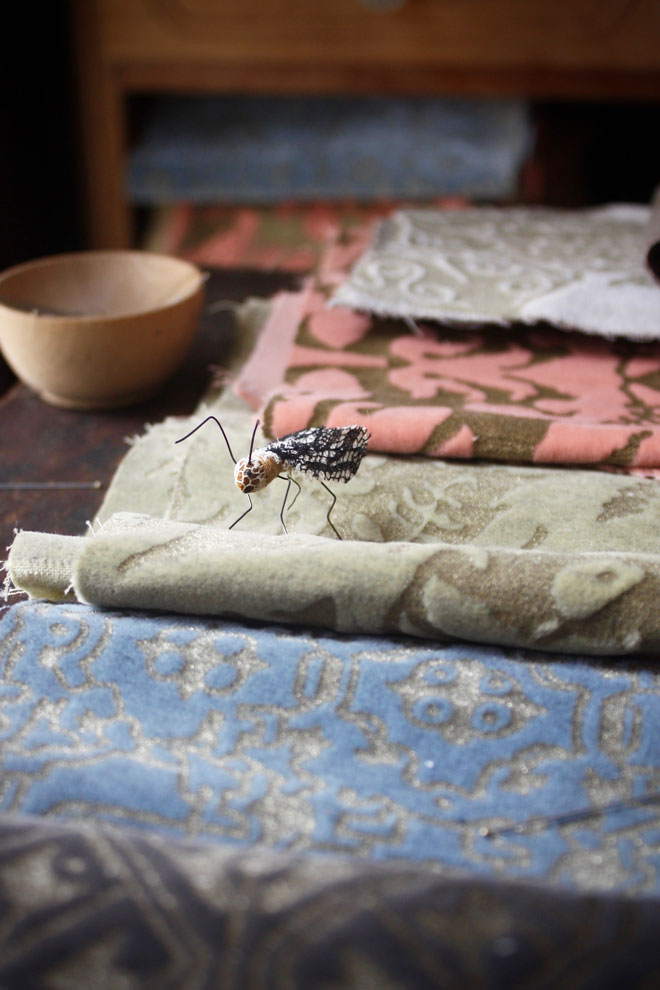
songbird laboratory

hand stitched songbirds on my worktable

It came to me all of a sudden while I was in the bathtub. I wasn’t even thinking about making songbirds, it just popped into my head, a better way to make the feet and legs. I had been thinking (obsessing) about it a couple days earlier. I’ve been thinking about the songbirds a lot and revisiting every aspect of their design and construction. It is interesting to take something I’ve been making for a long time back to the laboratory.

hand stitched songbirds on my worktable

This is the second songbird do-over. The first was because I misplaced the pattern. So painful. I reconstructed it  from memory as well as reverse engineering from my photos. I made a couple changes and improvements in that round. I’m revisiting this time to get ready for the workshop and eventual sewing pattern. I want it to be fabulous so I am testing and testing and testing again, searching for anything that can be easier or more efficient and more consistent without sacrificing any elegance or birdness.

It was a hard thing to start. There is lots of resistance in my thinking when I’ve been doing something the same way for a long time. It took a while to get into a truly experimental spirit and find my curiosity.

“ The difficulty lies not so much in developing new ideas as in escaping from old ones.”
John Maynard Keynes


It is also a daunting amount of very slow work with lots of failures. I only change one aspect of the design at a time. Sometimes there are several time consuming iterations of a change before I know if it is successful. I was stuck on the legs for a while, stuck on how to make  them teachable and more efficient while retaining the expressiveness. There was also one problematic point in the construction where someone could potentially lose an eye.  So awkward. A simple solution for all of it just floated into my mind. In the tub.

hand stitched songbird shape

I’m also examining the body construction and balance. There have been huge improvements in both. Part of this process is digitalizing the pattern (in adobe illustrator) and while I was doing that I saw some possibilities. I simplified the construction a little and the shape is subtly improved and comes together beautifully. And I’ve changed how the legs are inserted and the bird is balanced. The balance, the body language, is so important to the birdness of the finished thing.

textile songbirds on my worktable

And I’m not done. I’m scrutinizing the details the same way now. It is all a massive amount of work but I’m deeply involved in the very best way, the time disappears way. I’m spending the whole weekend with the birds and I’ll show you what I make next week.

Onward,

ann

sweet packages, the best glue stick in the world and other tools I love

making handmade tags and packaging

ann wood handmade : packaging

I love packaging,the details of it, arranging things in the box, the string, the tags, all of it. I make most of the tags and labels myself. I probably should not, this is probably an excellent example of something I should outsource but I like doing it.

making handmade tags and packaging

And before we talk about the best glue stick in the world I want to tell you about a couple other tools I use and love to make my packaging and fyi- some of these link will give me a tiny commission if you purchase through them which is awesome.

tonic studio paper cutter, it is awesome

When I started making kits I was cutting the image for the box with an exacto knife and it was a very slow process. I was not expecting much from this little paper cutter but I had about 100 labels to cut one night and it was less than 20 bucks (at the Paper Source Shop on the corner of my block) so I thought it was worth a shot. Almost three months later it still works beautifully. I use it all the time now for everything, labels and cutting my watercolor paper too. So worth it.

packaging for small paintings

die cutting stamps for tags

I also got these die cutting stamps and mini hole punch there. There is something so satisfying about punching out the little shapes. Now I’m curious about other cutting tools, the fancy digital ones like these with software etc. Do you know about these? Have you tried them? They seem so full of interesting possibilities to me. I am intrigued.

paper flamingo cake toppers

And the glue stick. I have tried them all. High end, low end. Everything. The UHU stick is my favorite. I am a heavy glue stick user. In making my packages, flamingo cake topper making, collage and as a temporary hold for fabric ( for some fabric projects I use a washable glue stick).

sketchbook, collage and paint, far away lands

The UHU stick has staying power, even when I paint over it which I frequently do. It will wrinkle up briefly and then smooths out. I usually hit it with the blow dryer, not sure if that helps or just speeds things up, just so you know.

Have you got a favorite tool or supply?

sketchbook 2/4 – 2/10

sketchbook : 2/6-10

ann wood sketchbook : 2/4 and 2/5

sketchbook : 2/6-10

This week I spent most of my sketchbook time (I’ve committed to at least  30 minutes a day) on two pages. I’m supposed to do a new page every day. I have not decided if this is acceptable sketchbook behavior yet but creatively it felt right.  I got lost in mr. socks world. It was a good place to be.

quilts with problems and a feature in homespun magazine

quilts, plants and twinkle lights

quilts, plants and twinkle lights

Cozy is my specialty.  I love twinkle lights on pearly gray days, lots of plants and lots of quilts. Three of my favorite old quilts have serious and progressing issues.  I’ve been thinking about fixing them for a while and one of them has reached a point that demands immediate attention. It’s a quilt emergency. The other two are technically coverlets, no batting,  so their problems can wait a while.

quilts with problems

quilt repair

The largest and most seriously forlorn quilt is loosing stuffing all over the place.  More of it is falling apart than not. It is probably not reasonable to try to fix it. And I know once I start it is a life long commitment, that it will spring new leaks and eventually be almost entirely repair with just little bits of the original fabric peeking out. I’m fine with that.

patching and mending an old quilt wabi sabi style

I’m motivated partly by my attachment to it, partly by a love for fabric and also because I think it might get interesting. I’m approaching the repair wabi sabi style, boro inspired patching and a meandering stitch.  Some patches with turned edges and some with raw edges, an improvisational yes and process embracing happenstance.  I started by basting muslin over the big problems and then working in and around those areas with smaller patches. I like doing it and I like what’s happening to it. I will keep you posted as it develops.

homespun magazine

In other quilt news the latest issue of  Homespun Magazine (Australia)  has a pattern for the quilt block on the cover and lots of other projects. They always have an impressive array of projects and patterns in every issue.

homespun magazine : ann wood

And I’m in it too! Thanks so much Homespun. Digital copies are available here.


serendipitous beginnings, avocado dye and pattern work

indigo owl made from Japanese textiles

indigo owl made from Japanese textiles

Sometimes I begin with somebody in mind and go looking. I spend a long time choosing, experimenting and thinking about just the right combination of texture and pattern and color. The indigo for the blue owl is all from Sri Threads. I love the variety in the blues.  Some other lovely old cloth from Sri is below, miraculous color and  wonderful mending stitches by other hands.

japanese textiles

The black and dark greens for another little owl are mostly Edwardian garments. I love the way the blacks fade, usually leaning purple or green as they do.

owl made form edwardian garments

cotton and wool fabric

Sometimes the beginning is entirely serendipitous, a suggestion from the universe. A combination I had not thought of and I was not looking for appears and I get an idea.

fabric boat and rabbit doll

I saw a sailboat and mrs. rabbit and made them immediately. They are both quick projects and  a good break from some slower work. Mrs. is made from the mr. socks pattern. I added long ears and reduced the size of the head cover by one quarter inch all around.

small rabbit rag doll

I’m also working on sewing patterns. I’ve got a bunch in progress and they are all a little stuck so I’m applying a creative sprint to the two that are closest to finished this weekend: the captain charmley doll and the mushroom print pattern. I can’t wait to share my method for creating his head and hair with you. So easy.

captain charmley : soldier rag doll

I’ll focus on just those two until they are done. After that I’ll start working on others again including a print version of the paper mache ships. It is a massive undertaking.

pink fabric dye made from avocado pits

And pink. A soft, moody pink. Just right. It’s made with avocado dye. I had no idea. This came up in the comments section to last week’s post (thanks Alicia). I made guacamole and then boiled and simmered the 5 pits for a couple hours. I love it. Have you tried this?

5 things that are bringing me joy, boats and a goat

a boston fern and a handmade goat

5 simple things,  that made me happy this week:

sewing in bed

1. Sewing in bed. It’s become a regular thing in the morning. I sew by hand for an hour or so and drink lots of coffee.

2. Getting rid of stuff. Lightening my load.  I spent a whole day this week making space and letting go of things.  I plan to do more this weekend. The spring cleaner in me has awakened early this year.

a boston fern and a handmade goat

3. A boston fern. I’ve been walking by it in the supermarket for weeks, watching it get sadder and sadder. I could not take it anymore and shelled out the $12.99 and brought it home. I did not have high hopes for it but it has made a marvelous recovery. I love plants and I’m happy I did this fern a solid, wish I had done it sooner.

handmade goat in gingham with felt horns

stiched goat with embroidered features


get the goat sewing pattern

4. Finishing stuff.  All of a sudden a bunch of things I’ve been working on forever are almost done. I spent the morning (in bed) finishing this little goat, stitching sail edges and adding patches and details to owl captains.

hand stitched sails

owls made from scraps

little owl pattern


get the little owl sewing pattern

I’ll take the official photos of the ships with their little owl captains next week. They just need flags and wind in their sails. Do you need wind in your  sails? Check out this video – it’s super easy to do.paper mache ships with owl captains

I’ll take the official photos of the ships next week. They just need flags and wind in to their sails.

cordless iron

5. And finally this old iron. So much joy. I have never felt like this about an iron before. It has been a bad year for irons, this is my fourth and I love it. It was free, a serendipitous meeting, and I never would have chosen a cordless iron but it turns out I love the cordlessness. And it gives excellent steam and the surface of the plate is beautiful, it glides.

What little thing made you happy this week? Do you love your iron? What are you making? Do you sew in bed?

the somewhat weekly newsletter

Do you get my free weekly-ish newsletter? There are tips and tricks, ideas, stuff to try, all the latest news and blogposts and extra stuff, just for subscribers, delivered mostly on Friday. Pretty much.


unclenching my sketchbook

sketchbook painting of a goat and mr. cups

The purpose of my daily painting and drawing practice is to encourage free experimentation and exploration, expand my vocabulary, fail often, follow my curiosity, exercise my creative muscle and give ideas an opportunity to emerge. I took a long break from it and re-entry has been rough. I think in large part because I started selling some of the little paintings I made. Lots of them. That is on my mind now each time I start and I’m less inclined to try stuff. I feel all clenched up about whether or not I can sell what I make that day and If I don’t make a painting I can sell I feel like I have failed. I love making and selling the little paintings and I will keep doing that but I’m separating the daily practice.  Letting that just be a place for ideas and experiments.

sketchbook painting of a goat and mr. cups

And I’m using a sketchbook from now on ( I was using sheets of water color paper). This was the first week and I like it so far. The page in the book is a commitment, no starting over.

goat painting

I also like the idea of filling it up and making the practice more portable. I have lots of travel coming up and I’m determined not to take any more breaks. I’ll scale back on supplies when I’m traveling. I’m also making the commitment manageable, 30 minutes and one page every day.

ann wood sketchbook

I’ll post all this week’s pages here tomorrow.

little doll jacket : a free sewing tutorial

tiny rag doll jacket

Sometimes a light jacket is just the thing and I’ve made you a simple and easy sewing pattern in two sizes, one for the tiny rag doll (or any dollhouse size doll) and a slightly larger version for mr. socks. And the pattern scales well so you could use it for other dolls too. It’s quick and very easy.

little doll jacket sewing pattern

tiny rag doll jacket

The hat pattern is free too and you can find the satchel pattern here, if you need to fully outfit someone tiny.

mr. socks jacket : free pattern

You might also notice that mr. socks is wearing pants for the first time. I made them using the bloomer pattern for the tiny rag doll sewing pattern. I add about 1/4 inch to the pattern and left an opening in the back to accommodate his tail.

mr. socks

mr. socks in pants
little doll jacket : free tutorial

little doll jacket : free tutorial

To make the jacket you will need : wool felt, an embroidery thread, a tiny button, basic sewing supplies and the pattern.

download the sewing pattern here

* You can click each image for a larger view

1. Cut out the three pattern pieces and pin to your felt.
2. Cut out one of each.

3. Fold the rounded collar of the front top over and stitch.  I’m using one strand of embroidery floss. You can use any stitch you like, fancy or simple. I’m using a basic whip stitch.
4. Fold over each rounded cuff and stitch as well.

5. Pin the front under piece to the back piece, make sure your folded and stitched cuffs  are on the outside.
6. Pin the front top piece as shown.

Read More